The second Saturday of my workshop
at Stumptown Art Studio http://www.stumptownartstudio.org/
will cover printing the collagraph plate.
Here we have my finished plate.
 To get ready for printing;
I first soak my paper to soften it up,
 make a template for positioning plate and paper,
 and get the press set up with blankets
 Next, I get my ink out
(we'll have black, blue and brown available)...
 and start spreading it on to the plate -
 make a template for positioning plate and paper,and get the press set up with blankets
 Next, I get my ink out
(we'll have black, blue and brown available)...
 and start spreading it on to the plate -
a very small amount is needed.
 Here the plate is covered with ink.
The rubber spatula makes it easier to spread ink
in to all the cracks and crevices of the plate.
 Now, I begin to wipe the plate.
I start by scraping the top layer of ink from the plate
with a piece of mat board. This removes most of the excess ink.
 Next, using a balled up piece of tarlatan,
 I wipe the plate. The surface ink gets picked up in the weave of the tartlatan
and you end up with a wiped plate ready for the press.
Be sure to wipe edges of plate as lumps of ink can accumulate
and cause blotches in the print.
 Using my template, I place the plate on to the press bed.
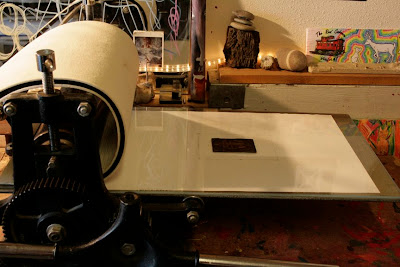
Now, using a bent playing card to keep my inky fingers from
leaving finger maks all over my paper,
I remove the soaked paper and let it drip...
 ...and then I blot the paper dry.
 Once again using my template, I place my paper over the plate.
I roll down the press blankets and run everything through
the press rollers, mashing everything together.
 After passing through the press,
 you can see the embossing of the plate
on the back side of the paper.
 Peal the the paper back from the plate
and, voila!
A Collagraph Print
 These inks take a good deal of time to dry
so I like to give the print a week or so before
handling or framing. After that I've
an archival print that should last well beyond
my great grandchildren's lifetime.


 Self Portrait Cut Out
 Next I cut out the plate...


